Ideal Zoom Setup
2020
2020 has been an odd year – and it has accelerated our future faster than most of us were ready for – and that includes moving meetings from the physical world to the Zoom world.
As we spend hour after hour in the zoom world, I have come to recognize a number of setups including:
- Laptop with webcam in the crack between the bottom of the screen and the top of the keyboard – otherwise known as the nostril cam.
- Laptop with poor webcam quality (that includes most Apple laptops) – otherwise known as fuzzy cam.
- Laptop that stills has plastic film over the webcam – otherwise known as the blurry cam.
- Desks with the owners back to a bright window – otherwise known as soon to be in the witness protection program silhouette.
- And the list could go on and on an on.
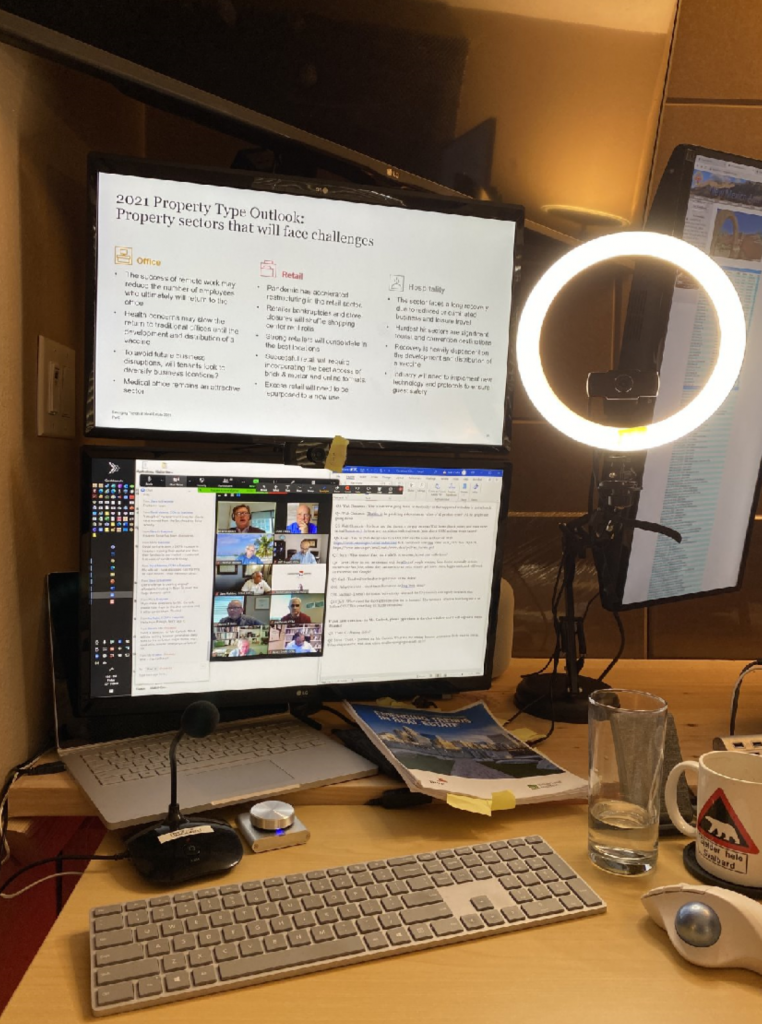
Knowing this, I decided to design a portable zoom setup that I could use reliably for meetings. In order to come as possible to resembling a real meeting, it needed to cover the following items:
- Good lighting so you could read facial expressions
- A camera located approximately at eye level and was physically separate from my primary laptop (Macbook pro 16″) or my Zoom /teaching laptop (Microsoft Surface book2) or our conference room setup (Microsoft Surface 4).
- Adjustability both in depth and height to take into account two person meetings (my wife and I had many parent teacher conferences or school meetings this way) or allowing me to stand
- A dedicated microphone phone with a clear to read MUTE indicator
- A dedicated volume knob
- (and as it turns out, some sound insulation between my office and my wife’s office )
I did some quick research on Amazon and chose the following items:
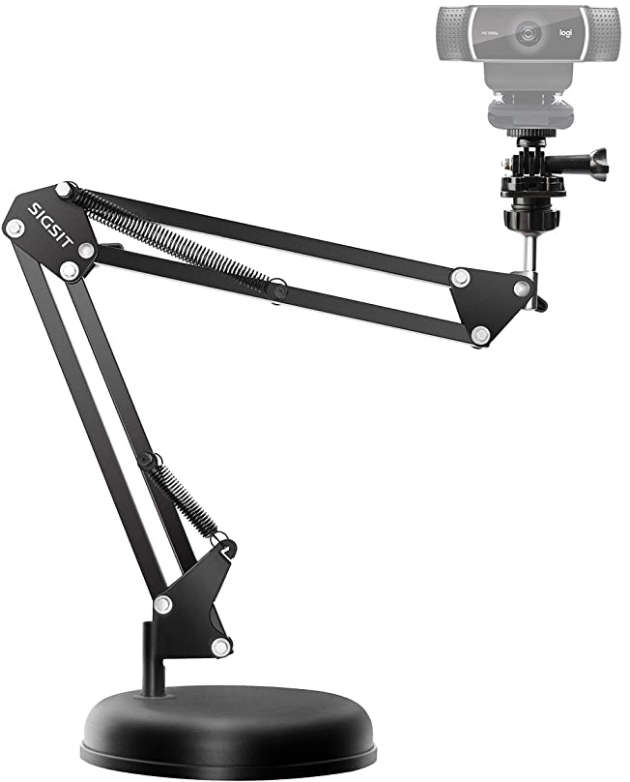
- Webcam stand – $27.98 – envision the adjustable desk lamp you might of had in your childhood – without the lamp – it has a solid weighted base, but can also be removed if you want to put small holes at different distances in your desk.
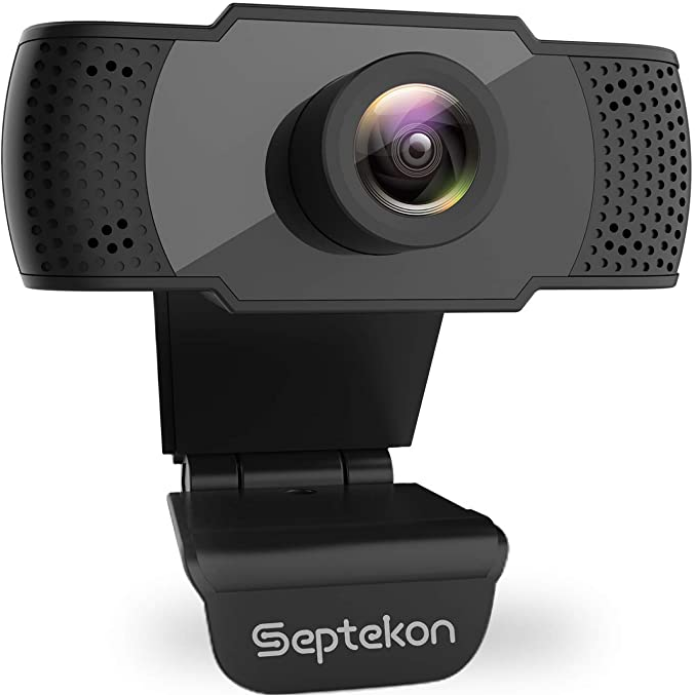
- Dedicated webcam – $29.88 – I wanted HD – so 1080 was minimum – and I wanted one that was adjustable.
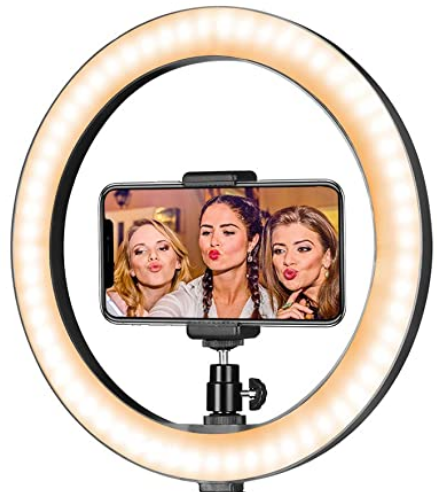
- LED Ring Light – 10″ – $19.79 – if you have watched any YouTube videos – you will notice the YouTubers have a ring light around their camera – this lights up your face and is adjustable as well.
- Microphone stand with visual cue if mic was muted – $15.99 – this one has a big button on the front with a red light (that I put a sticker on to remind me that RED was Live, dark was MUTED). This has eliminated one of my largest frustrations with zoom meetings – when a speaker is speaking and they are not aware there mic was muted, or they are fumbling around in settings look for the unmute button
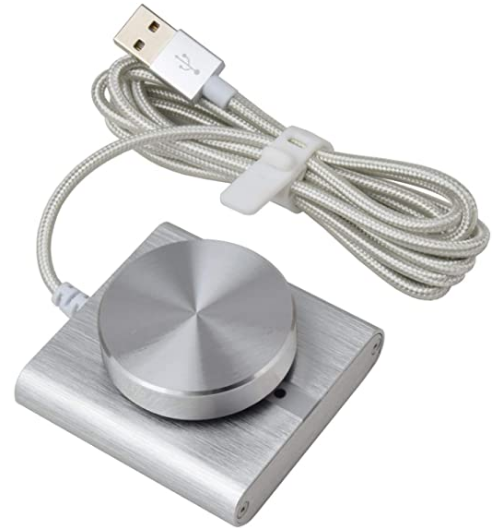
- Volume Knob – $27.19 – For a long time I was using my Apple Airpods for Zoom meetings, but when I moved to the microphone and after waring our 3 sets of Airpods – I realized I needed a dedicated volume knob.
- Sound paneling – $23.99 for 6 pack that is 12″x12″x0.4″ – this has worked really well – my daughter and I installed them from desk top to ceiling in my office – not only has it improved the acoustics and eliminated the odd echo I experienced on phone calls, it has done an amazing job of blocking my sometimes loud teaching voice. My wife has her office down the hallway – maybe 15′ from mine – and this has virtually eliminated any sound transmission.
- Some miscellaneous velcro, or 3M double sided tape.


For $150 to $250 (depending on how much acoustical sound paneling your office needs) – you can setup your own Zoom studio.
PS: I am a big believer in always having a sperate zoom computer for meetings because:
- Zoom is a resource hog and I have watched it melt down a laptop doing too many other things at the same time
- Zoom constantly reorganizes all of my carefully laid out windows
- If you screen share, you do not really want to screen share work you are doing for other clients
- When I just need to listen in on a zoom meeting, I can roll my desk chair about 24″ to the right, and be on my primary computer getting work done.
- Speaking of that – I would add a 2nd HD webcam to your setup – my 2nd cam is not on the stand, but is located between the two monitors (for better eye contact) and I can switch to that setup when I have moved computers as it looks like I am still engaged on the original zoom meeting.
- One more thoughts – next time you are in a zoom meeting – do a quick screen shot of your live photo – I do mine looking thoughtful – and then post it as my avatar – so I if need to leave the room to answer the door, make tea, etc. It is not disruptive to the attendees.
